Beyond being a delicious snack, bananas can also be a vibrant houseplant for your home. Banana plants have large, elongated leaves that can bring a touch of the tropics right into your living home or patio!
In this guide, we’ll offer you a roadmap to growing a thriving banana plant. We’ll provide everything you need to know, from the best soil mix recipe to the step-by-step process of successfully propagating a banana plant.
Banana Plant General Information
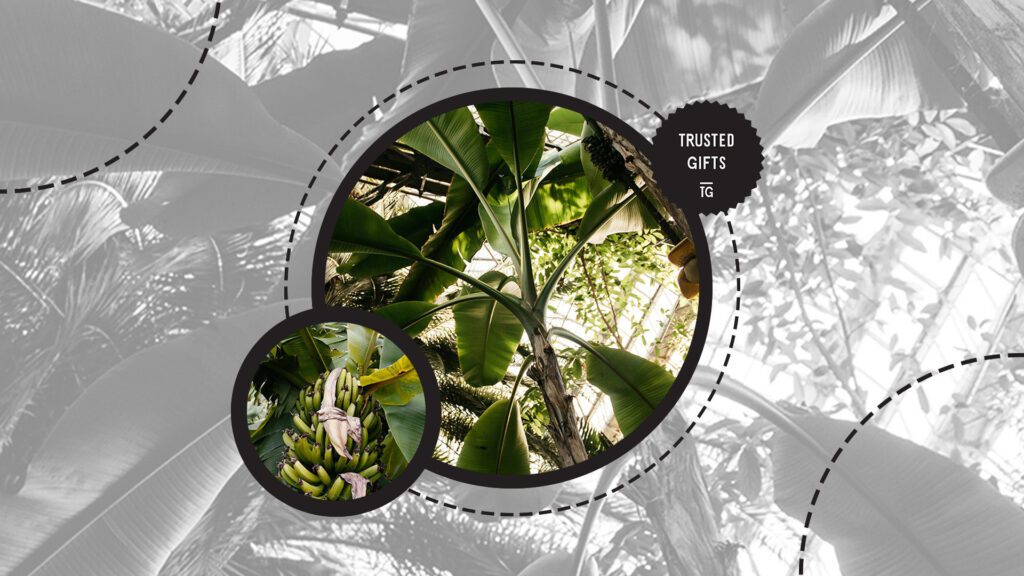

Genus: Musa
Family: Musaceae
Plant Type: Perennial
Native Habitat: India, Southeast Asia, and Northern Australia
Preferred Environment: Warm, humid environment
Blooming Period: 7 to 9 months after planting
Mature Size: 16 to 20 tall feet outdoors, 2 to 6 feet tall indoors
Toxicity: Non-toxic
Musa plants, more commonly known as banana plants, are herbaceous perennials that belong to the Musaceae family. They are native to India, Southeast Asia, and Northern Australia but can now be found in tropical and subtropical regions worldwide.
They produce fruits that come in various sizes and colors, which are commonly called bananas and plantains. These fruits are staple foods in many cultures and are consumed widely around the world.
Banana plants would usually die after producing fruit, but a new shoot or sucker typically emerges from the base before the main plant dies, continuing the plant’s life cycle.
Taking Care of a Banana Plant
What soil is best for a banana plant?
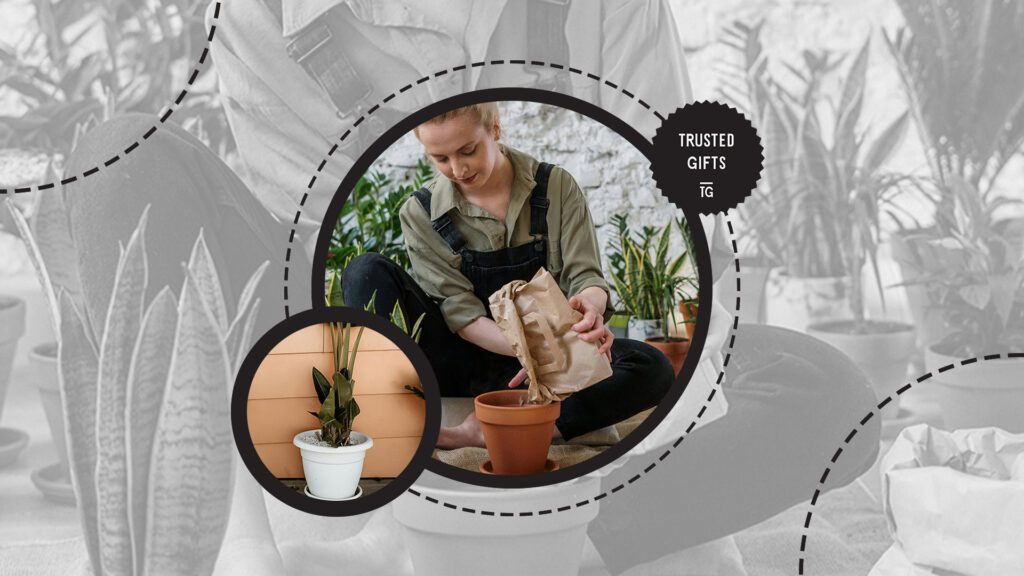

The best soil for banana plants is slightly acidic, well-draining soil rich in organic matter, like compost, peat, manure, and coco fiber. The pH should be around 5.5 to 6.5 for better growth.
Look for a soil mix that contains perlite, vermiculite, and pine bark to make sure it has good drainage, and the roots of your banana plant receive enough oxygen.
How do I make my own soil mix for banana plants?

Thoroughly mix the following ingredients to create a simple and effective soil mix for your banana plant:
- 3 parts coco coir
- 3 part orchid bark
- 2 parts perlite
- 2 parts coarse sand
- 1 part worm castings
This soil mix provides a well-draining, organic matter-rich growing medium suitable for your banana plant to thrive. You can add a handful of horticultural charcoal if you have them to make the mix more well-draining and resistant to fungal and bacterial growth.
When should I water my banana plant?

You should only water your banana plant when the first top inch or so of the soil is dry. The frequency will depend on your local climate, soil condition, and plant size, so it’s best not to follow a strict calendar-based watering routine.
Banana plants are not drought tolerant and may experience immense stress if the soil gets completely dry. Make sure to water the plant until you see water dripping down the drainage holes to make sure it’s evenly and thoroughly watered.
The afternoon heat will likely dry up the soil fast, so it’s best to water the plant early in the morning to give it enough time to absorb the water. Avoid watering it at night, as this can lead to fungal growth.
Do banana plants require sun or shade?


Most banana plants thrive in full sun, meaning they require at least 6 to 8 hours of sunlight daily. They can tolerate direct sunlight, but they do better if placed in areas that receive indirect sunlight.
A south-facing window is typically the best location for banana plants if you’re growing them indoors. This area receives the most sunlight, which is essential if you want your banana plant to develop and produce fruits.
What temperature is recommended for banana plants?


Banana plants are native to the tropics, particularly India, Southeast Asia, and Northern Australia, so they thrive in warm environments. So temperatures within the 68ºF to 85ºF range are recommended for them.
They can be sensitive to cold drafts, so keep them away from doors and windows during winter. These areas typically experience the worst cold drafts during the season, which can harm your banana plant.
What humidity level is recommended for banana plants?


Like most tropical plants, banana plants love humid environments. Keeping the humidity level around them at 50% or more is recommended for optimum growth.
Mist the plant’s leaves every now and then to increase the humidity around them. If you live somewhere dry, you can also place a huge bowl filled with water and pebbles near the banana plant.
During winter, you might have to add a humidifier to keep your plant happy.
How often should I fertilize my banana plant?

Banana plants are rapid growers who usually produce new leaves every 10 days. Their leaves are also quite large, so they’ll need lots of nutrients to support them and their fast growth.
Fertilize your banana plant with a general liquid houseplant fertilizer or any fertilizer with a 5-3-3 NPK ratio every 1 to 2 weeks during summer. You can lessen your feeding in fall and spring to once every month.
Before applying fertilizer, water the plant to make sure every area of the soil is saturated. Fertilizing dry soil can lead to root burn.
When should I prune my banana plant?

Banana plants grow fast, so they will need pruning if they have grown too big. It’s also a good practice to prune your banana plant when it has produced too many suckers or offshoots at the base or has dead leaves.
Suckers are special roots that eventually grow as a clone plant of the mother plant. You’d want to prune these and propagate them into new, separate plants to allow the mother plant to focus on its own growth.
When should I repot my banana plant?
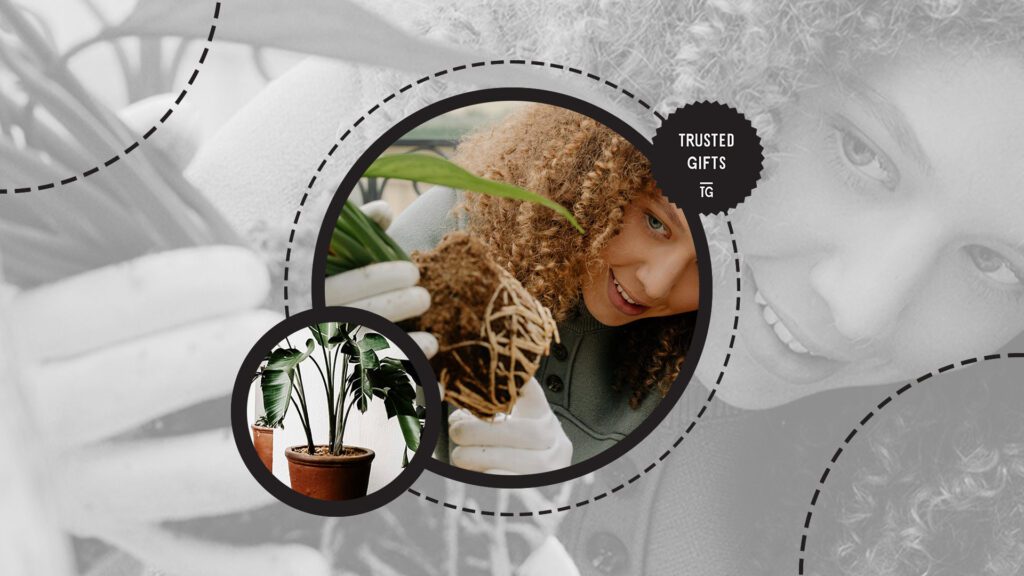

Banana plants, especially young ones, will normally need more repotting than other plants as they fill up their pots quite quickly.
Repot your banana plant when the roots have started circling inside the pot, the plant is exhibiting stunted growth, or the soil loses fertility. Any of these situations will usually happen about two to three times a year.
Once the banana plant has matured, it will usually need less repotting, around once a year.
How do I repot my banana plant?
Step 1: Water the plant
Make sure to water your banana plant the night before or the morning of the day you’re repotting the plant. This way, the plant can absorb the water and not get too stressed during the repotting process.
Step 2: Prepare a new pot and potting mix
Prepare a pot that’s about 4 to 6 inches bigger in diameter than the banana plant’s previous pot. This will give the roots enough space to spread and grow.
As for the potting mix, you can use something similar to the one you used before or use a new one. Just make sure the potting mix is nutrient-rich and well-draining.
Step 3: Gently pull the banana plant out of its pot
If you’re using a plastic pot, squeeze the pot a bit to loosen the soil. If you’re using a terracotta pot, tap the sides and bottom of the soil.
Carefully pull the banana plant out of its current pot. You can use a knife to loosen the soil if you still can’t pull it out after squeezing or tapping the sides.
Step 4: Examine the roots and cut damaged parts
After pulling the plant, check if there are damaged roots and trim them using a sterilized pair of scissors.
If the roots are severely packed, gently tease and pull them out to encourage them to spread. If you don’t do this, the roots may just continue growing in circles and end up suffocating the plant.
Step 5: Add a layer of potting mix to the pot
Add a layer of potting mix, about an inch or two, into the pot before placing the banana plant. We’re doing this to make sure the roots don’t make direct contact with the drainage holes, as the roots can grow and block them.
Step 6: Place the banana plant in its new pot
Position the pot into the center of the new pot and settle it in place by filling the sides with more potting mix.
How to Successfully Propagate a Banana Plant

Step 1: Choose a banana plant with multiple suckers
Having multiple suckers is usually an indication that the banana plant is well-established and healthy. That’s why it’s better to propagate those with multiple ones over those with only one.
If your banana plant only has one sucker, then it’s probably not yet the best time to propagate it. Wait until you have two to three suckers before you start propagating.
Step 2: Choose a healthy sucker
Identify which among the suckers is the healthiest. It should be around 1 to 2 feet tall and have its own leaves and roots.
Step 3: Remove the sucker
Carefully tear the sucker away from the parent plant. Do this gently to make sure you’re not causing lots of damage to the sucker and parent plant’s roots.
If you can’t pull it with your hand, use a sterilized pruning shears or knife.
Step 4: Plant the sucker
Plant the sucker into a separate container or directly into the ground.
It’s better to use the same potting mix as you used in the parent plant, but you can also use another mix as long as it’s well-draining and nutrient-rich.
Step 5: Water the sucker plant and provide care.
Water the sucker plant thoroughly to help it adjust to its new environment. Keep the soil consistently moist to make sure it grows healthily.
Place it in an area with bright, indirect light to make sure it receives all the sunlight it needs to produce food and energy for itself.
Common Problems with Banana Plants
Leaf Discoloration
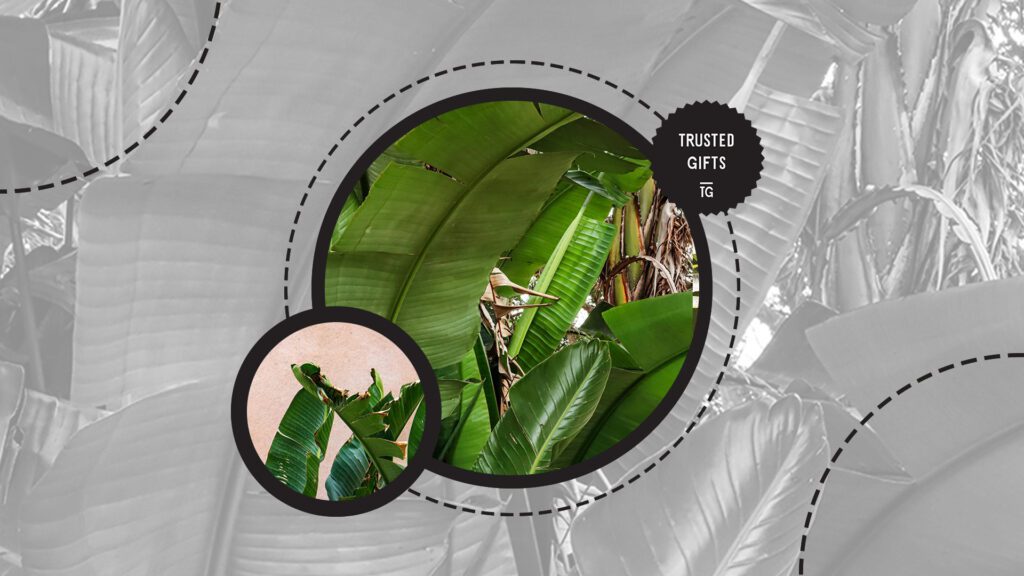

Leaf discoloration on banana plants, such as yellowing or browning, can be caused by inappropriate growing conditions and watering issues.
Banana plants are sensitive to cold temperatures and low humidity, so being exposed to them for extended periods can cause stress to the plant. Once stressed, it becomes unable to function properly, causing the leaves to turn yellow, brown, or even die.
If it’s growing in a warm and humid environment, check if you’re overwatering the plant. Overwatering can cause waterlogged conditions, which damages the roots and hinders the banana plant’s ability to absorb nutrients and water.
How to Fix Leaf Discoloration
To fix leaf discoloration, keep the temperature around the plant within the 68ºF to 85ºF range and the humidity at around 50%.
During colder days, like the winter season, provide the plant with protection like frost blankets or burlap to lessen the stress caused by the temperature.
It can also help if you apply a thick layer of mulch on the base of the banana plant. Mulch will help regulate the soil temperature but can also retain moisture, so keep your watering routines in check.
Instead of watering the plant based on calendar dates, check the soil moisture regularly by inserting your finger into the soil. Water it every time the top inch feels dry to the touch.
Pest Infestation
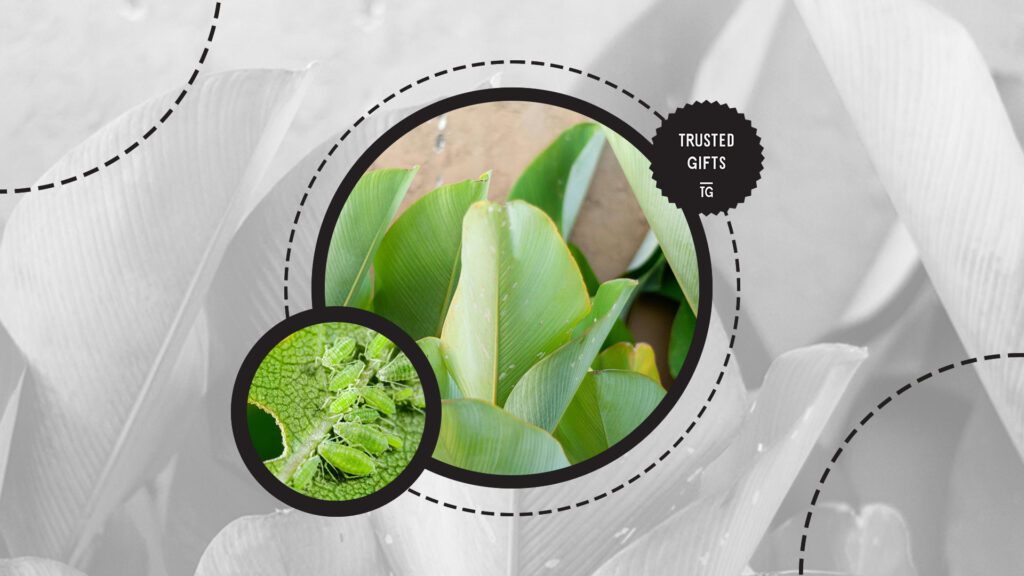

Sap-sucking pests, like aphids, spider mites, and scales, can be a massive problem if you’re growing a banana plant. These pests attach themselves to the leaves and stems of banana plants and then continuously feed on their sap, causing them to weaken.
They can be pretty hard to spot at first because of how small they are and how big banana leaves are. You’ll notice groups of white, oval-shaped insects and wax-like substances on the leaves once they’ve multiplied.
Aside from drying the banana plant of its sap, these pests can also transmit diseases from other plants, which can further weaken your plant. This can result in various issues, including drooping and falling leaves.
How to Fix Pest Infestation
To fix pest infestation, cut the leaves that are heavily infested with pests and focus on the ones that you can still save.
Once the heavily infested leaves are gone, take care of the rest by manually removing the pests using a brush, wet cloth, and cotton swab.
Apply insecticidal soap and neem oil into the leaves until you’re sure that all the pests have been eliminated.
During this period, make sure that your banana plant is away from your other plants.
Once you finish treating your banana plant, make sure to provide it with appropriate care. Pests are likely to come back if the plant is unhealthy.

